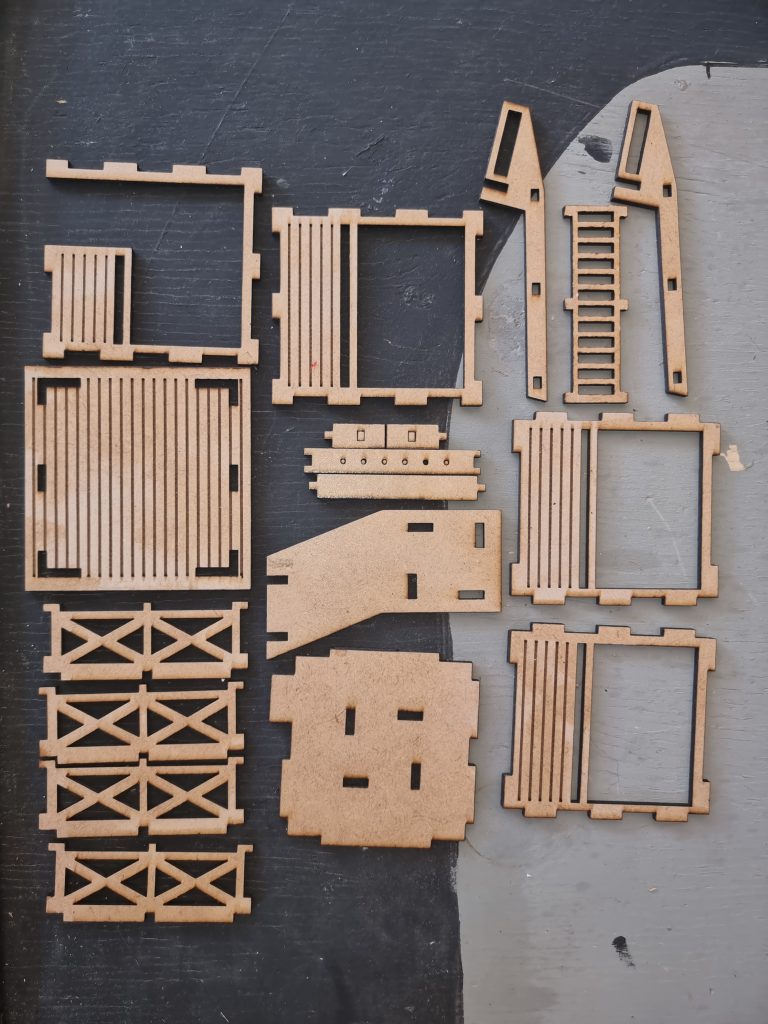
Notes.
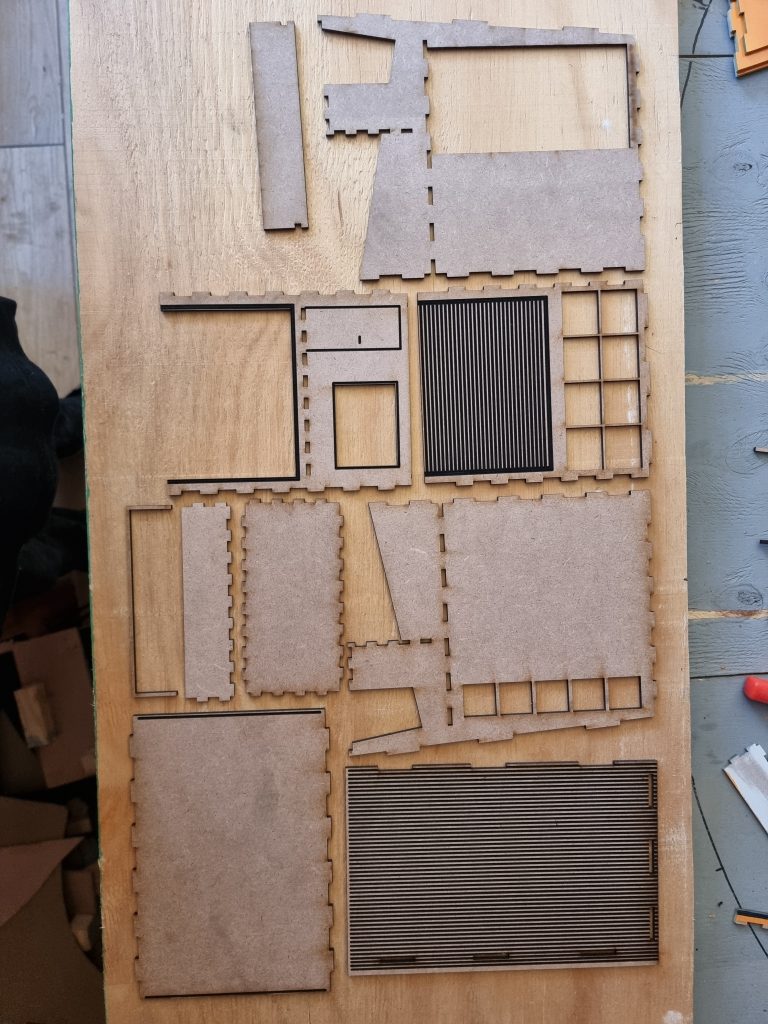
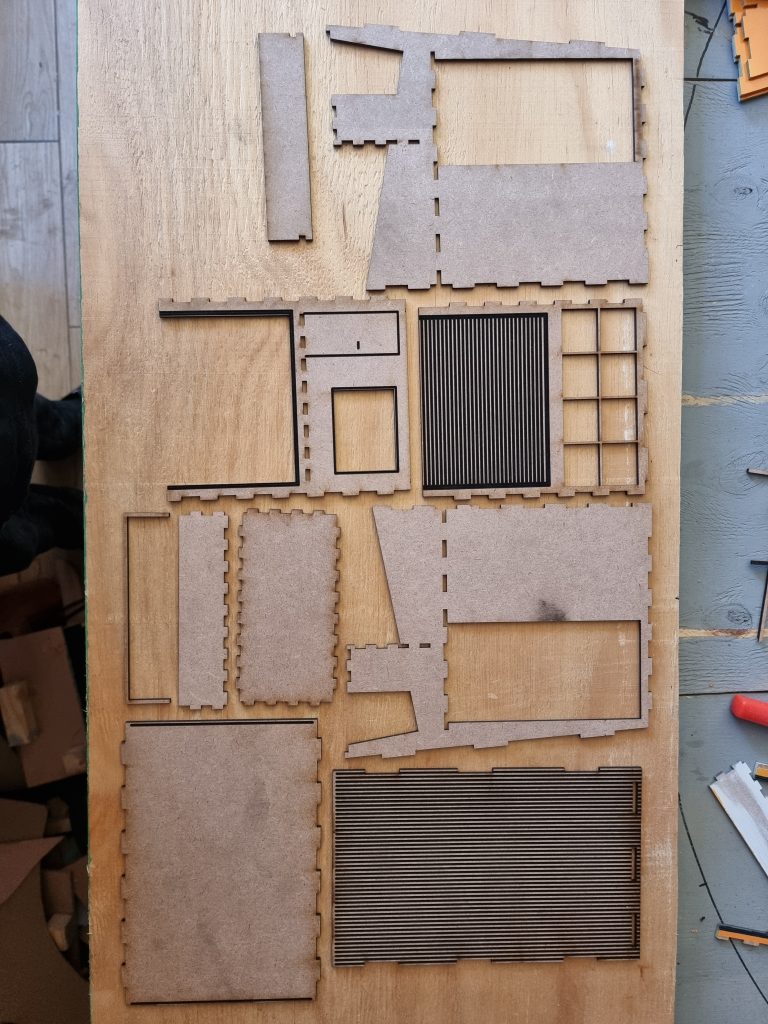
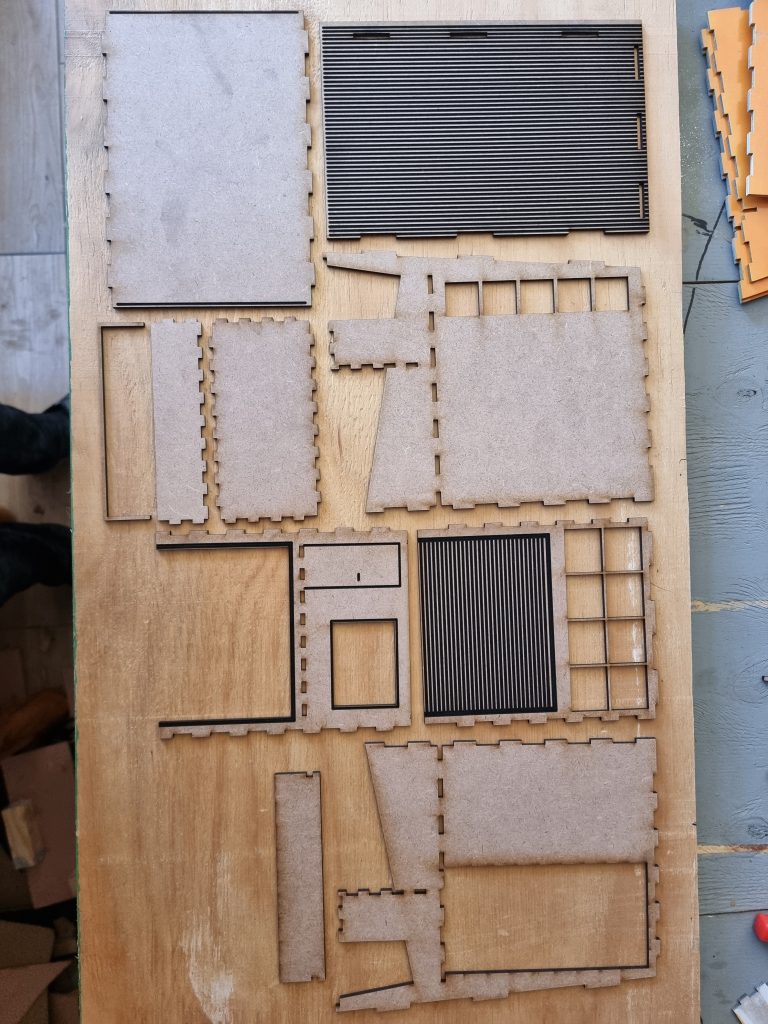
Lay out the pieces and get used to what goes where. I found it easier to apply an undercoat to all parts before painting and sand down the edges a little to get rid of the laser burned wood on the edges. This makes it easier to paint.
For the engraved pits, paint first and then scratch out the grooves a little with a sharp object to add the depth.
Depending on your choice of colors and complexity it may be easier to paint the interior first, assemble and then mask and paint the outside.
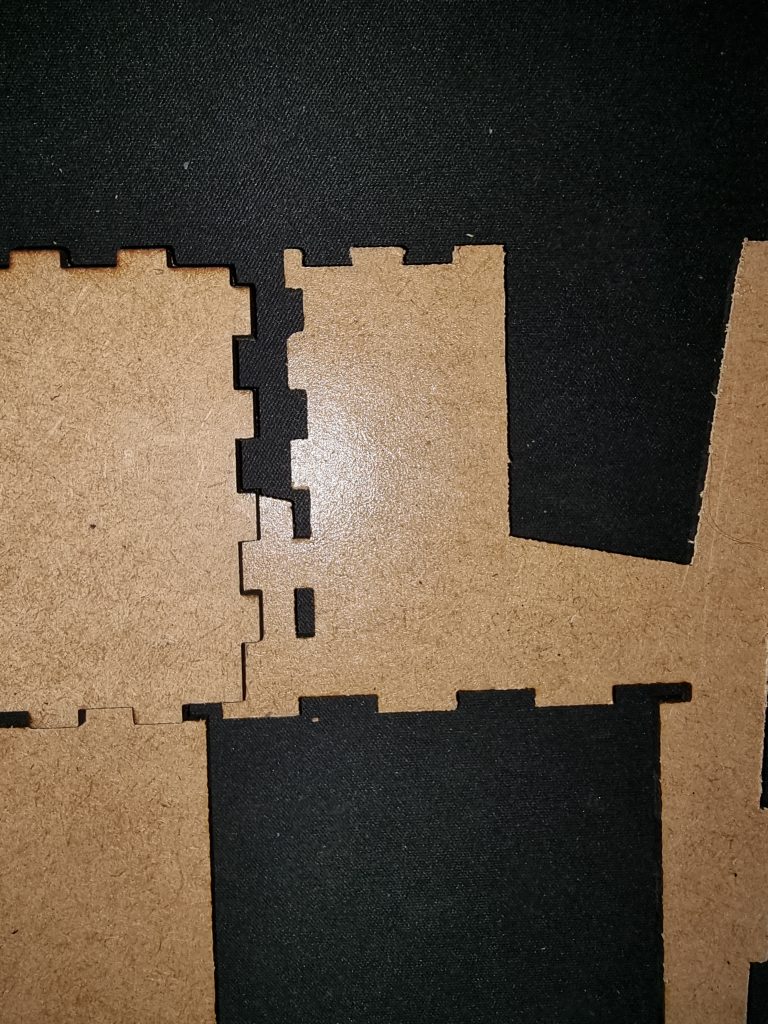
Glue the parts together with a cold wood glue, wipe off the excess glue with a damp cloth.
If anything is not 100% clear, send me (Wayne) a whatsapp to clarify. I am more than happy to guide you.
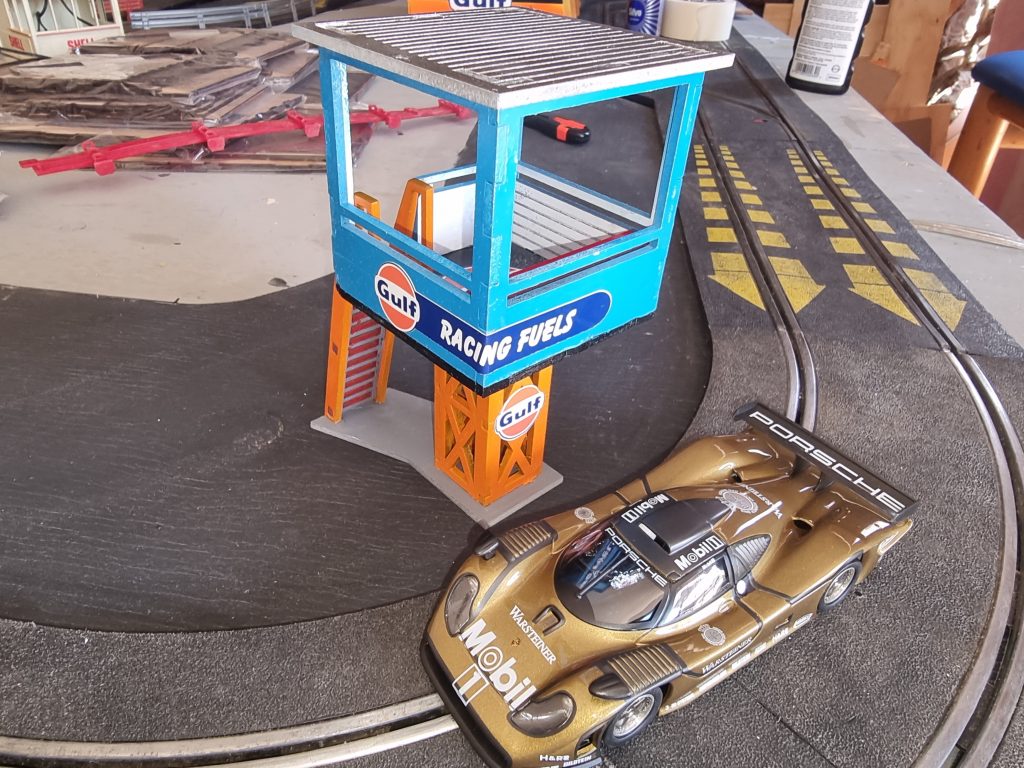
Most important… HAVE FUN!
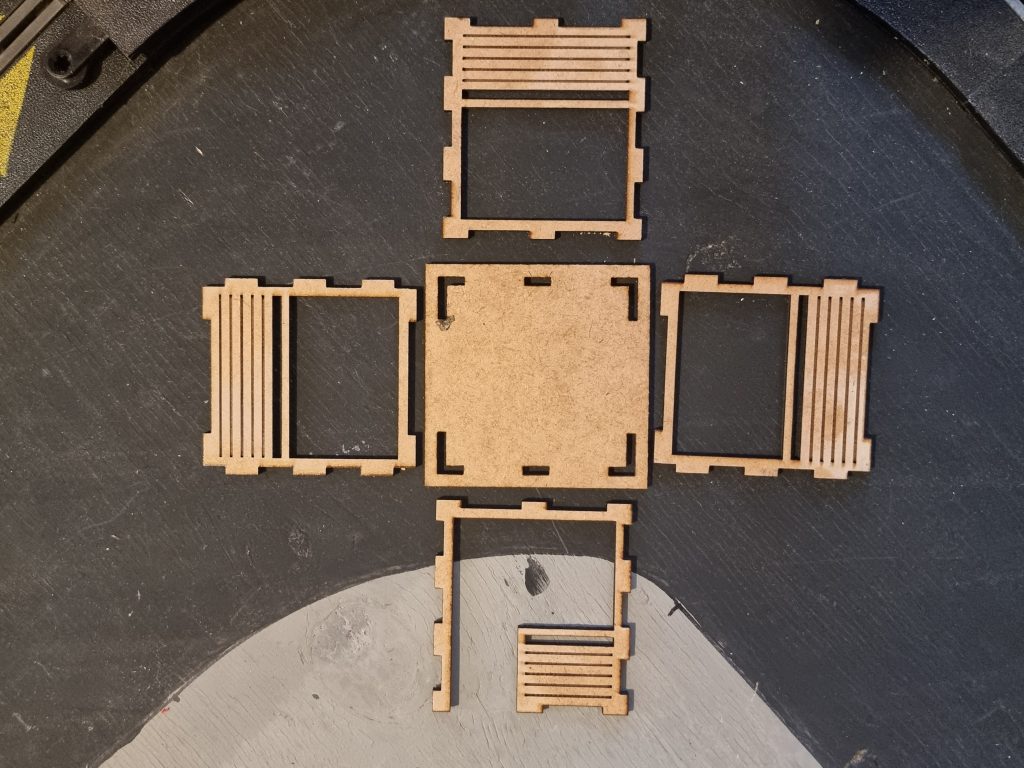
Part 1 – Identify the parts.
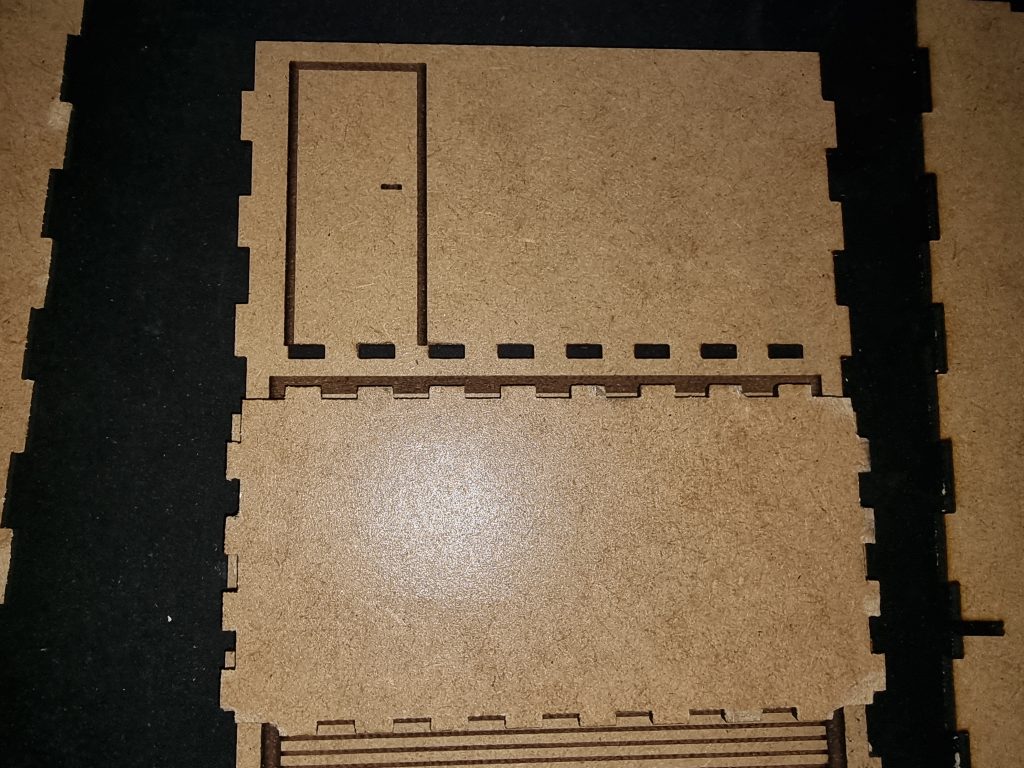
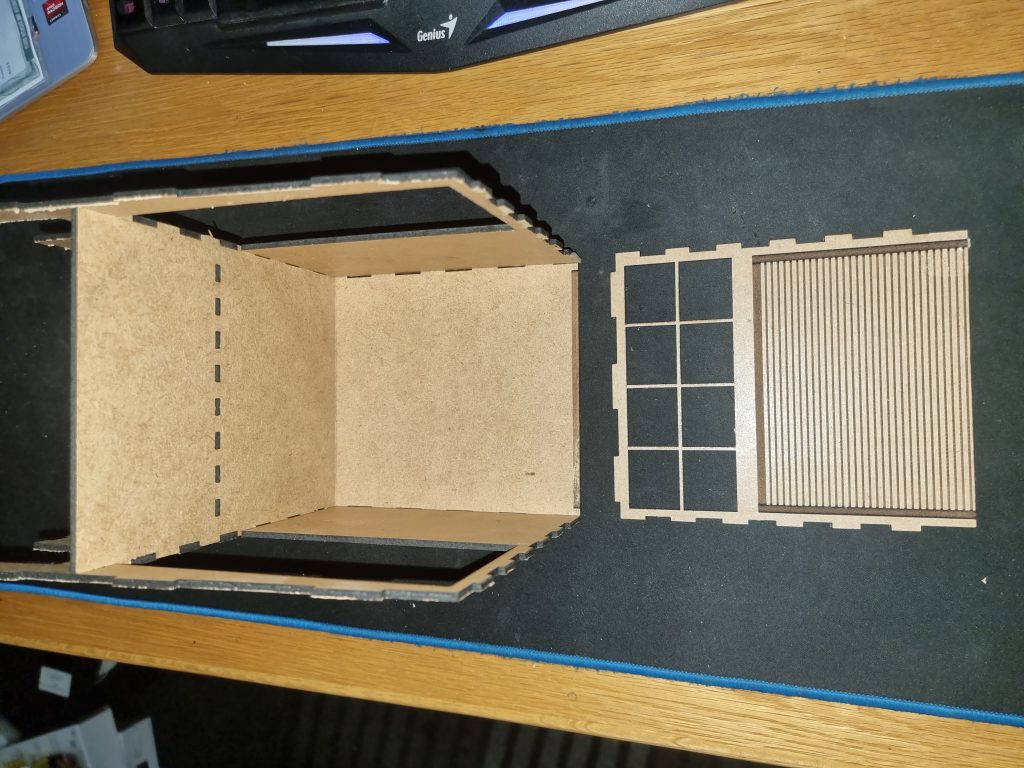
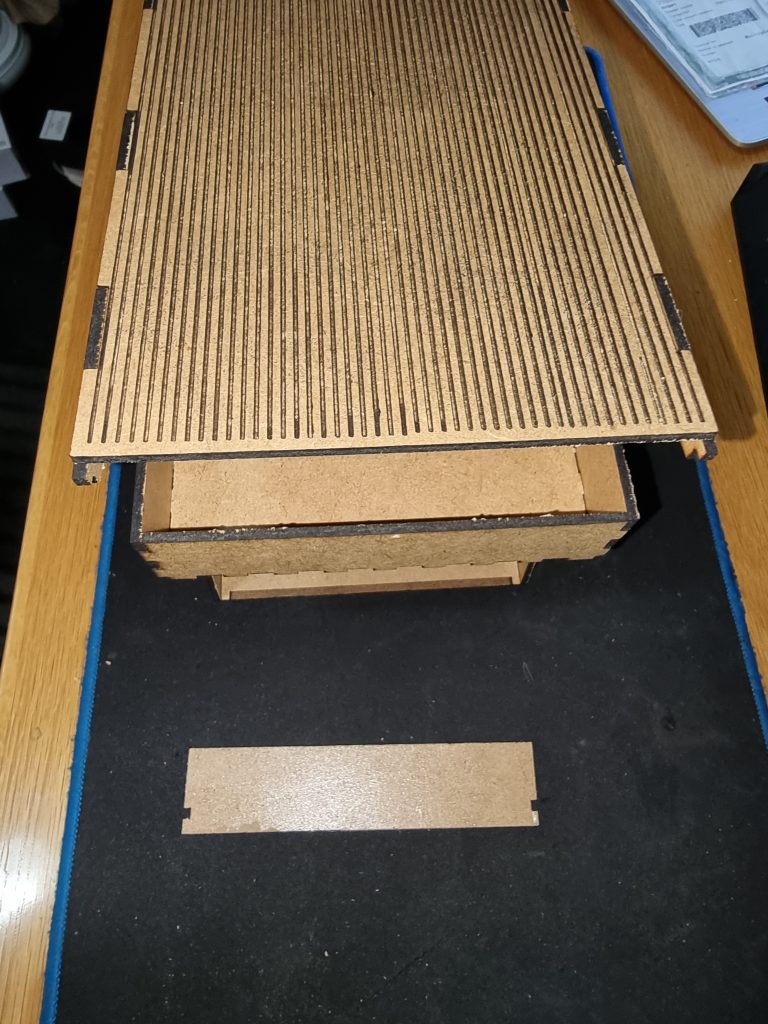
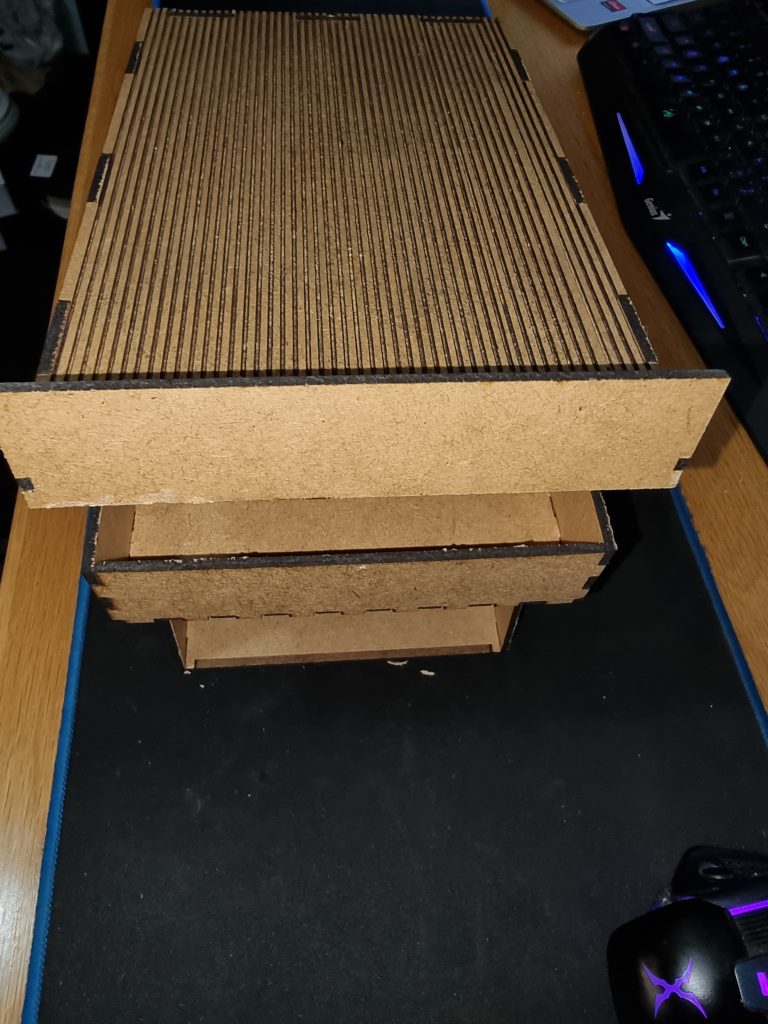
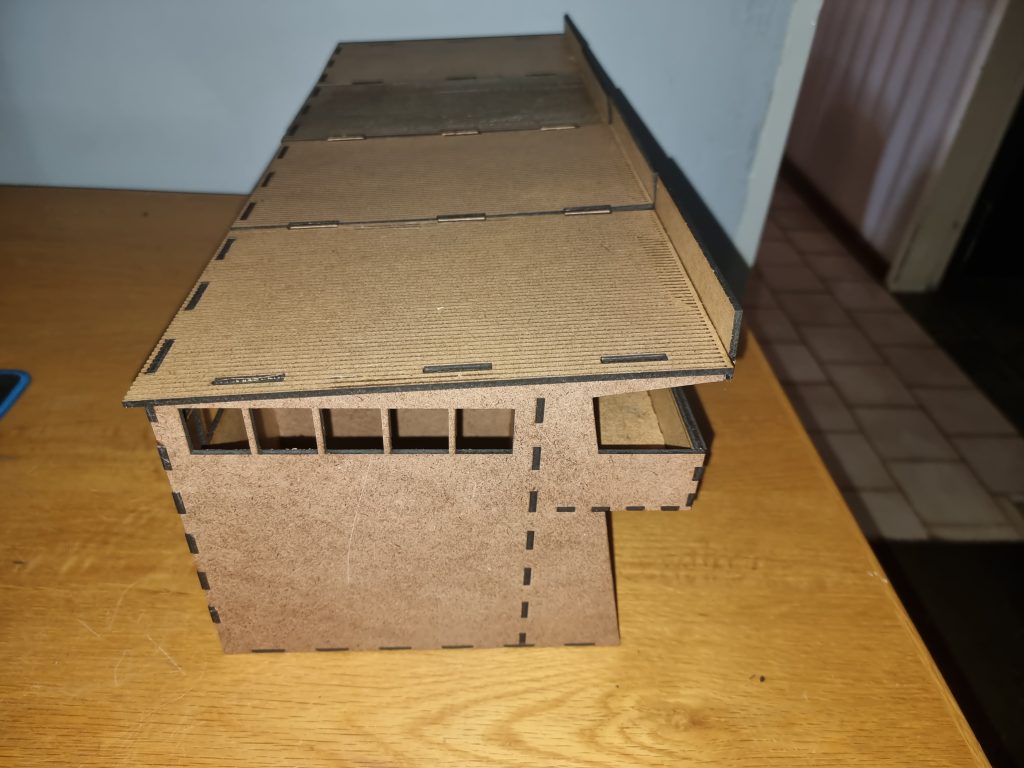
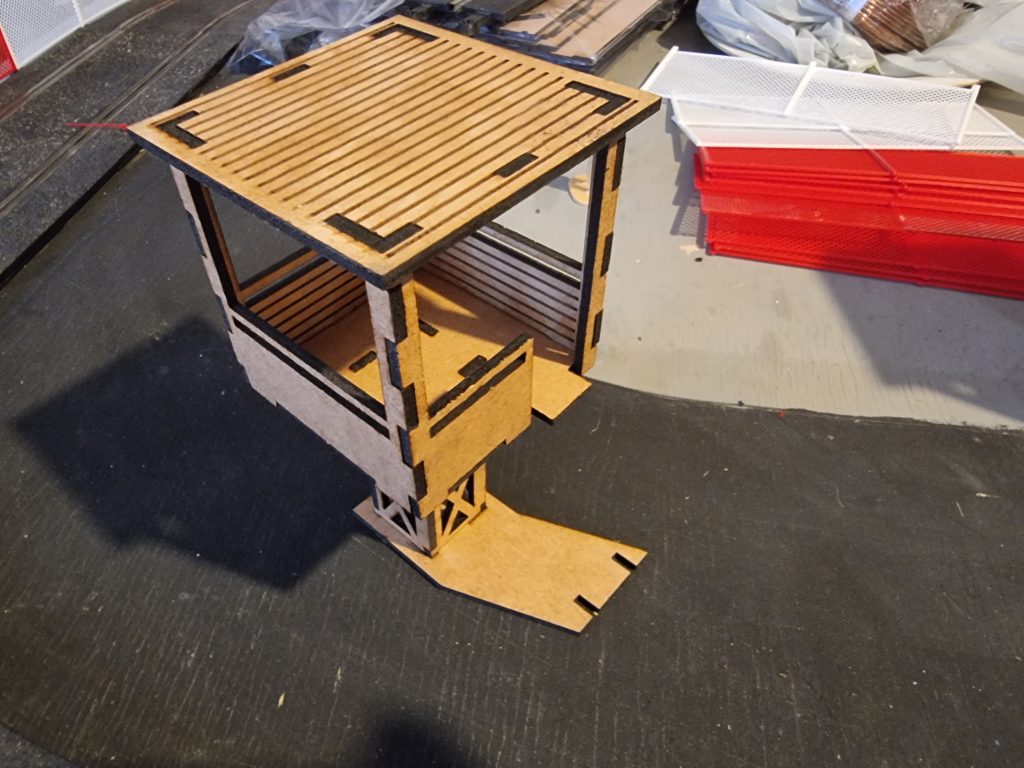
Step 1. Roof
Lay the roof down, engraved side to the surface you are working on. This image shows the engraved side for identification.
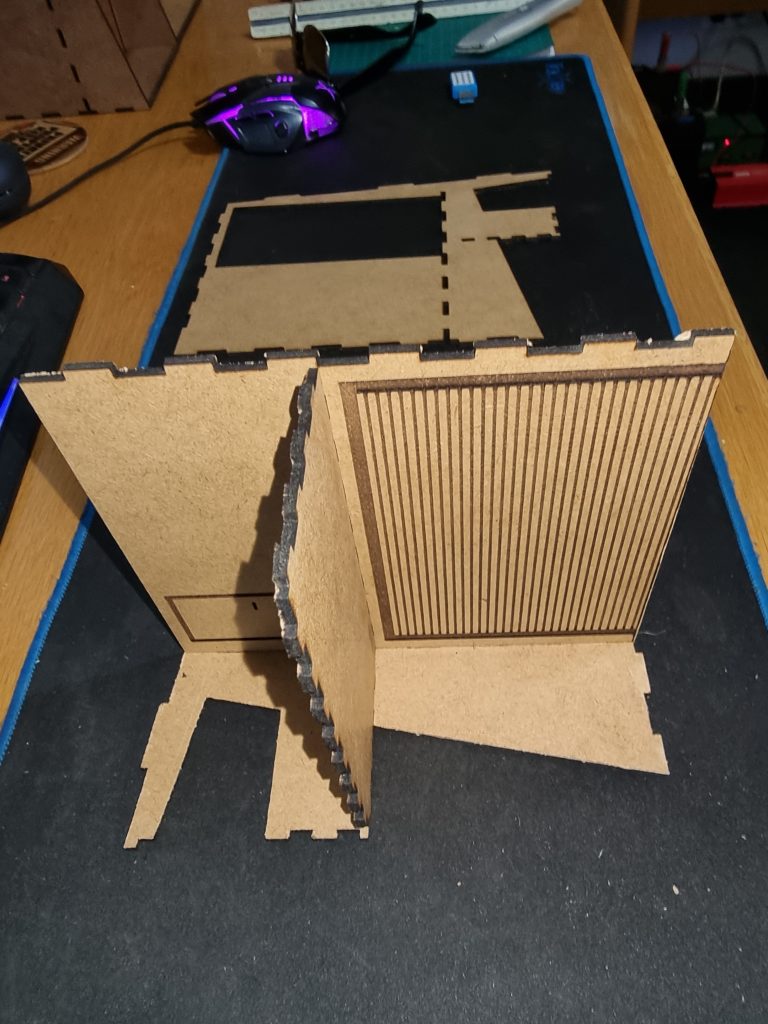
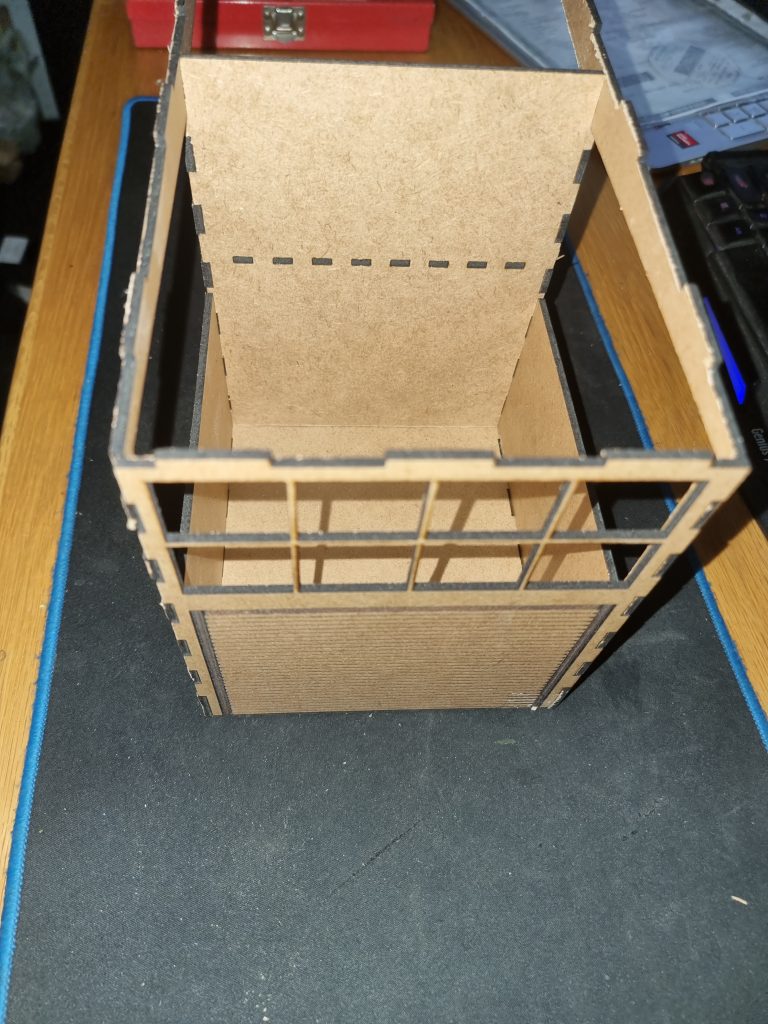
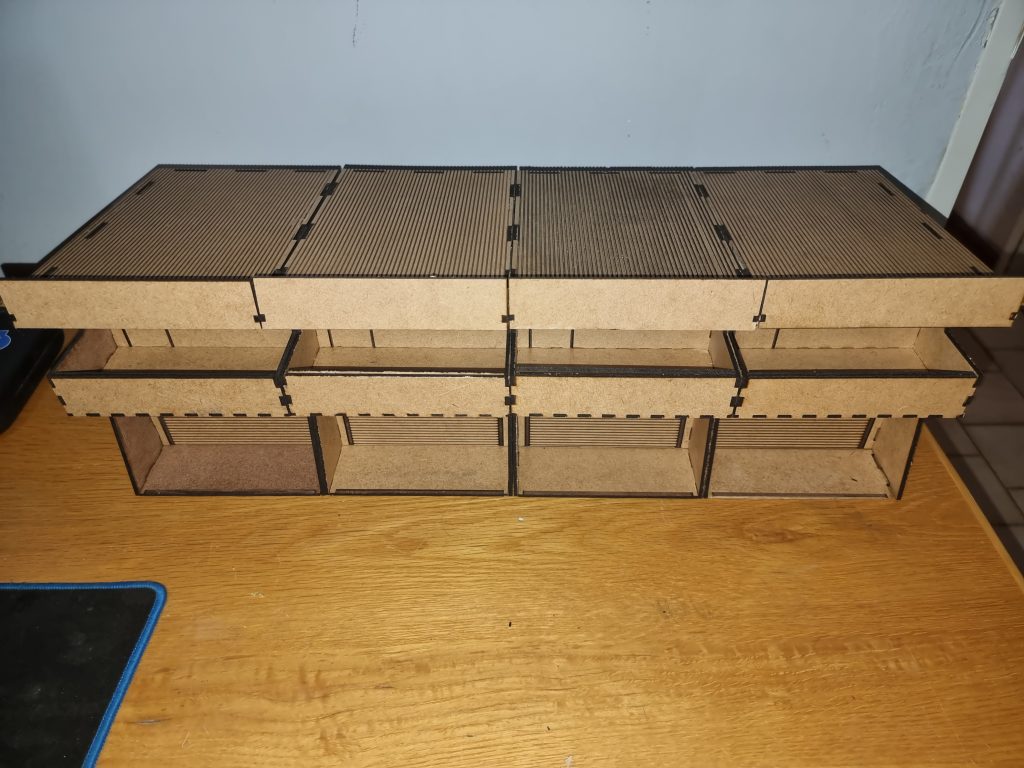
Step 2. Upper walls – orientation.
You can choose to put the engraving inside the box or outside at this point. Placing the engraved parts on the inside will make it easier to apply stickers later, or having it outside gives a different look. Your choice!

Step 3. Place the upper walls in the desired orientation.
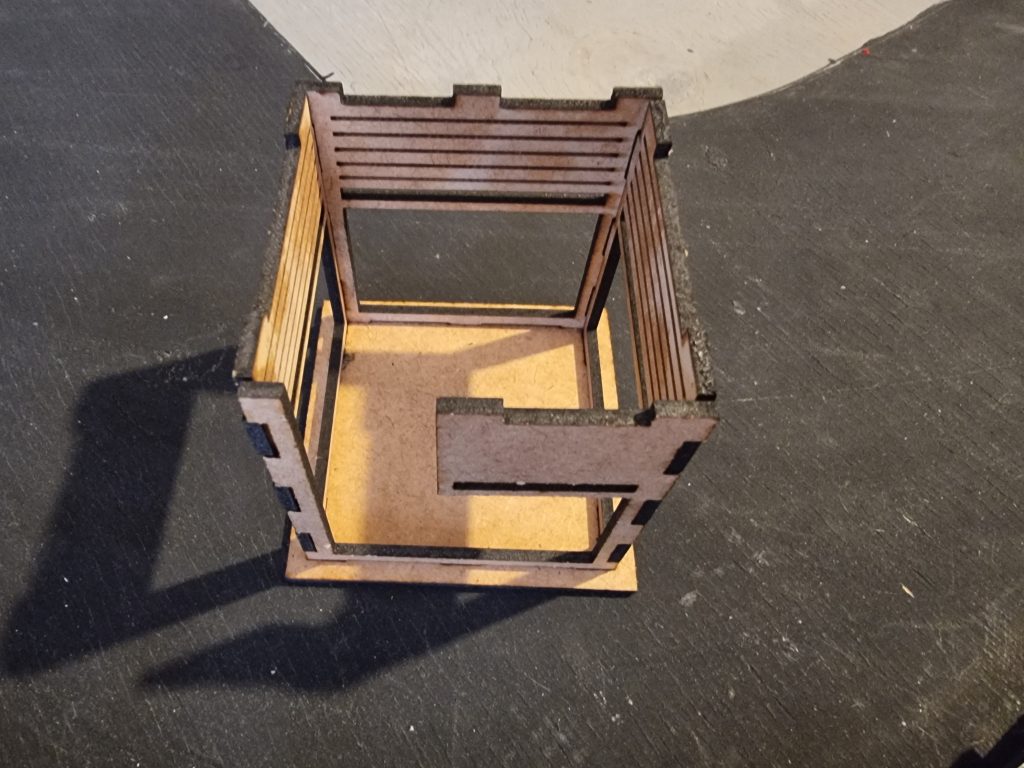
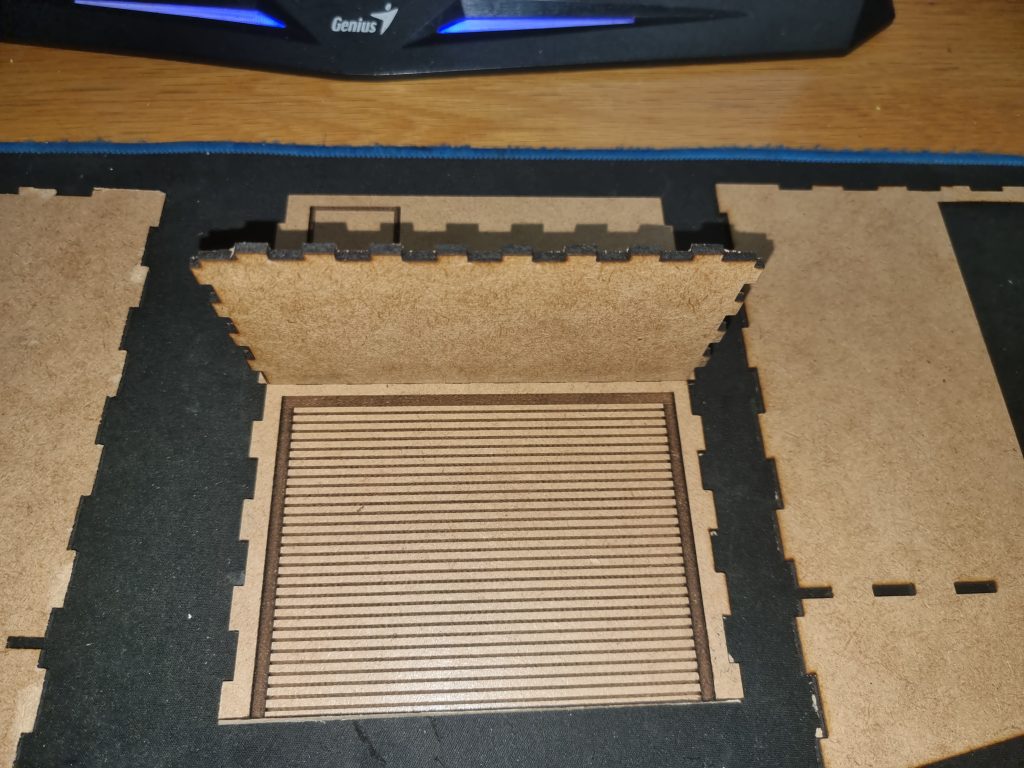
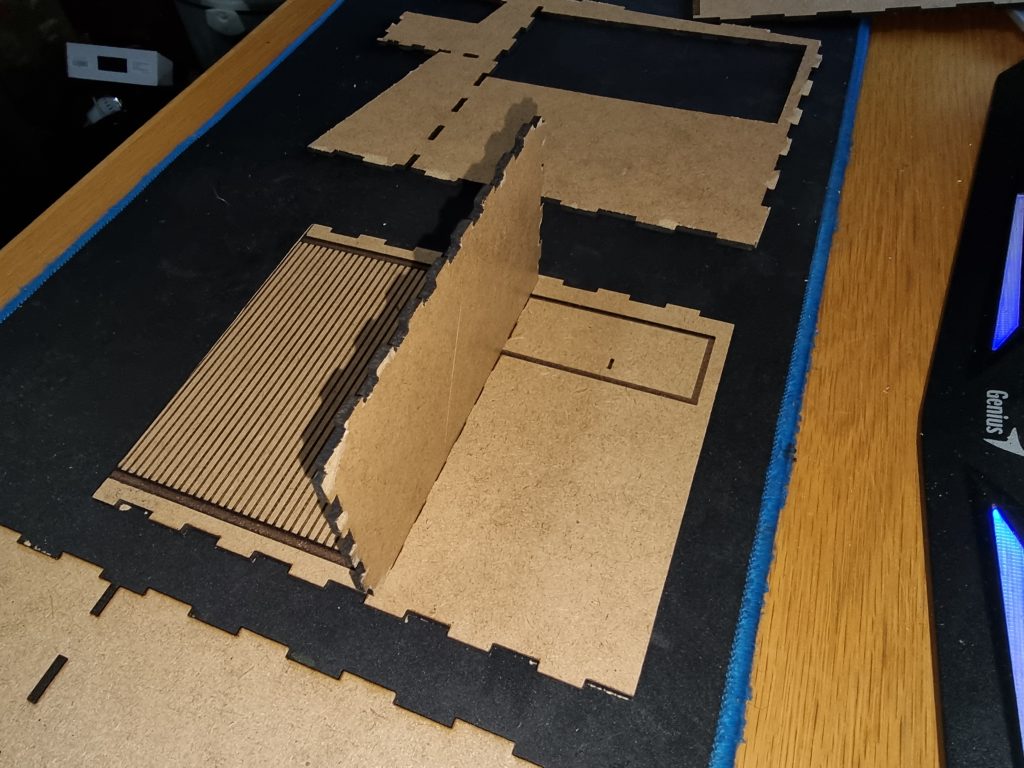
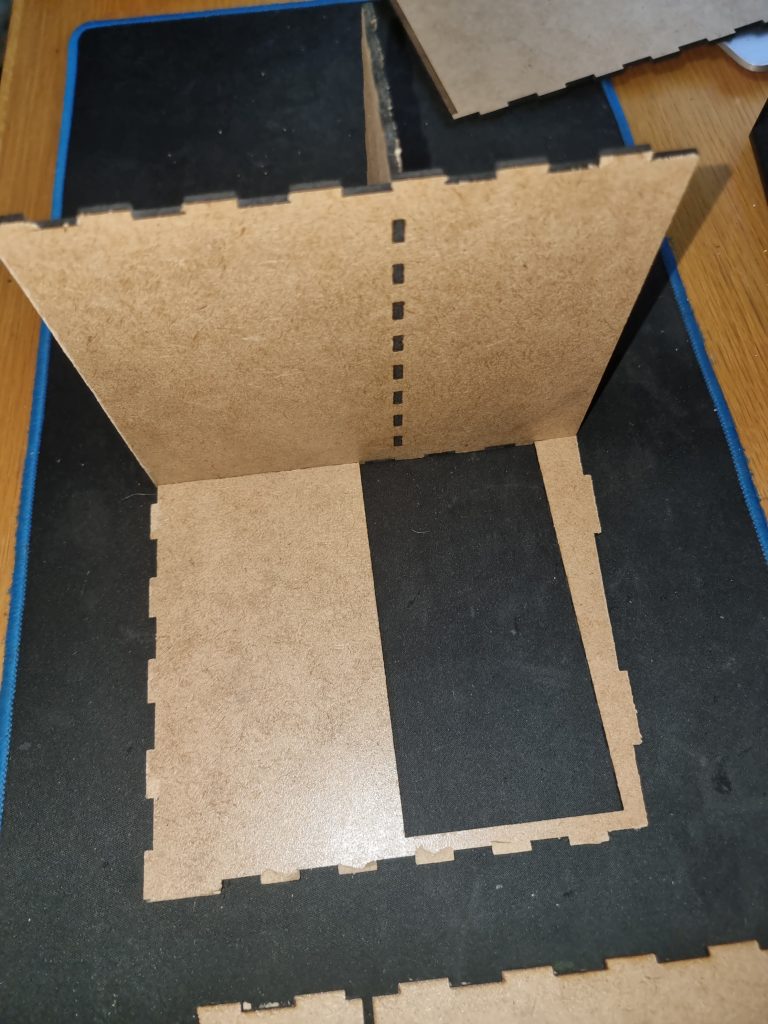
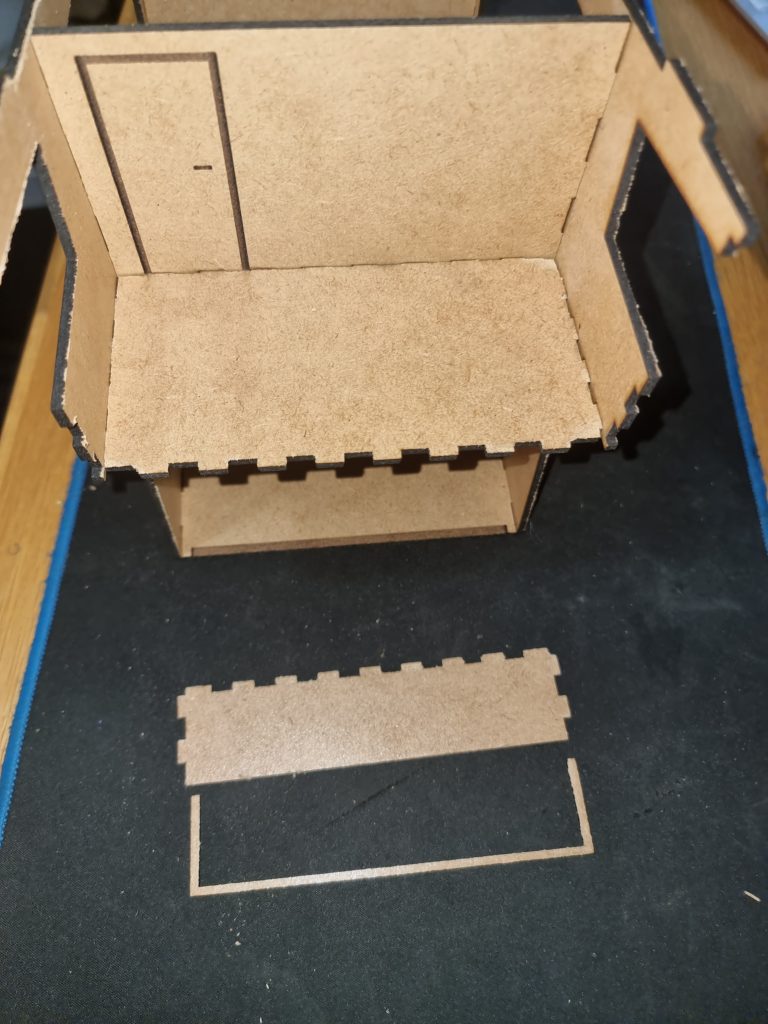
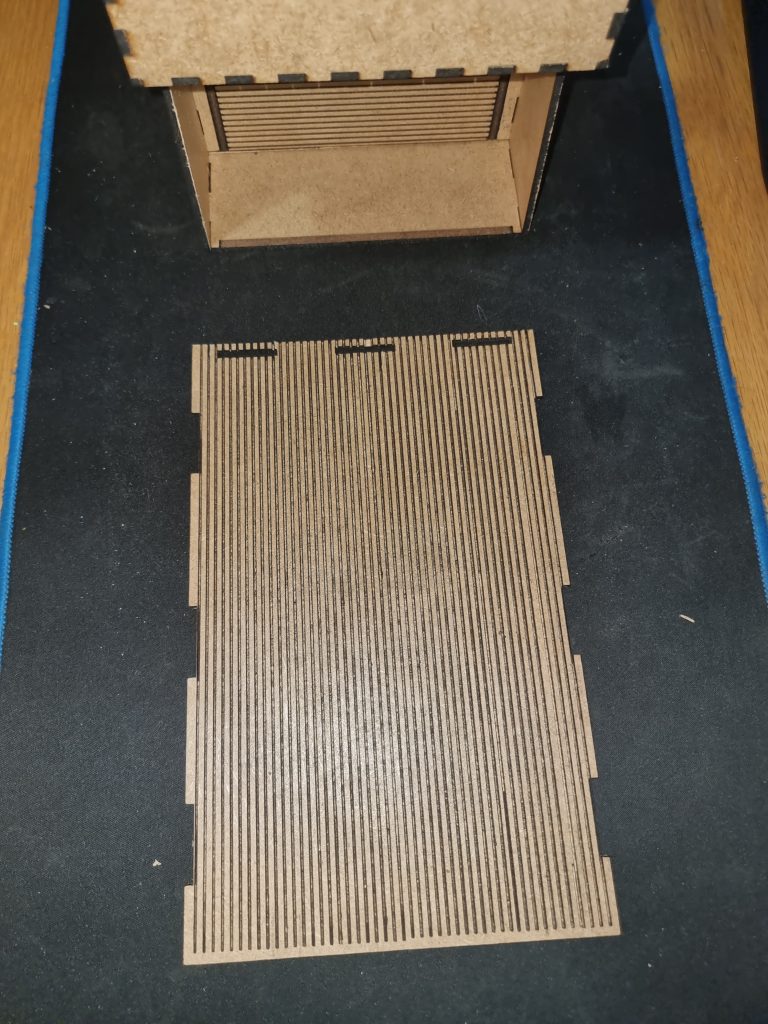
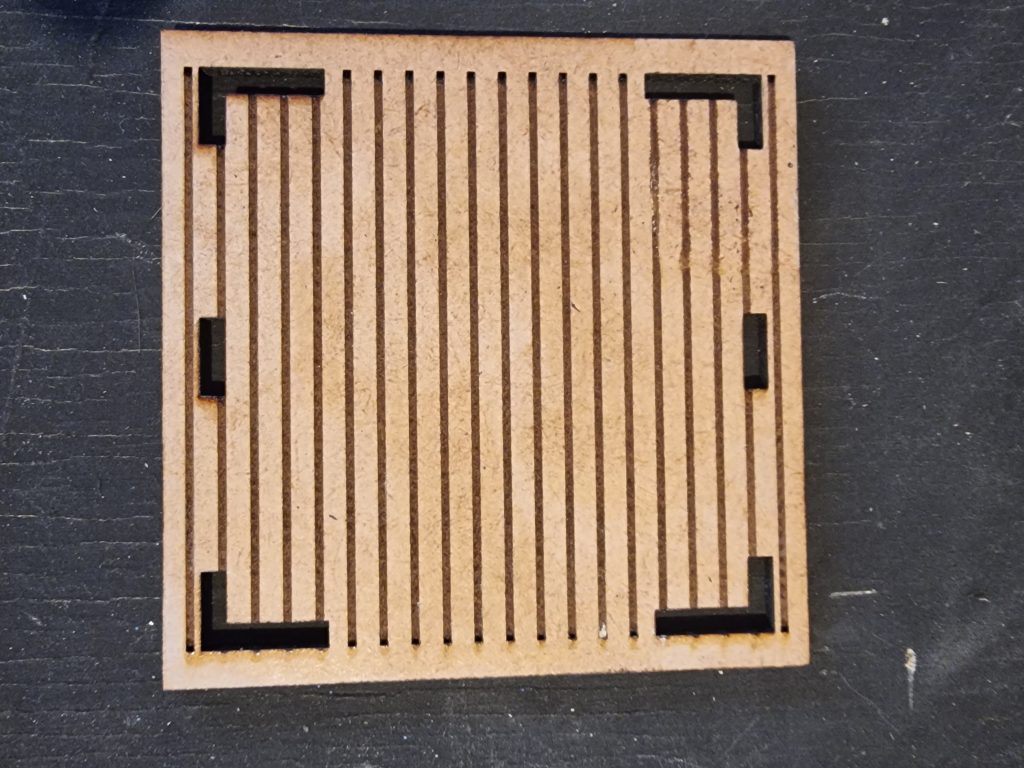
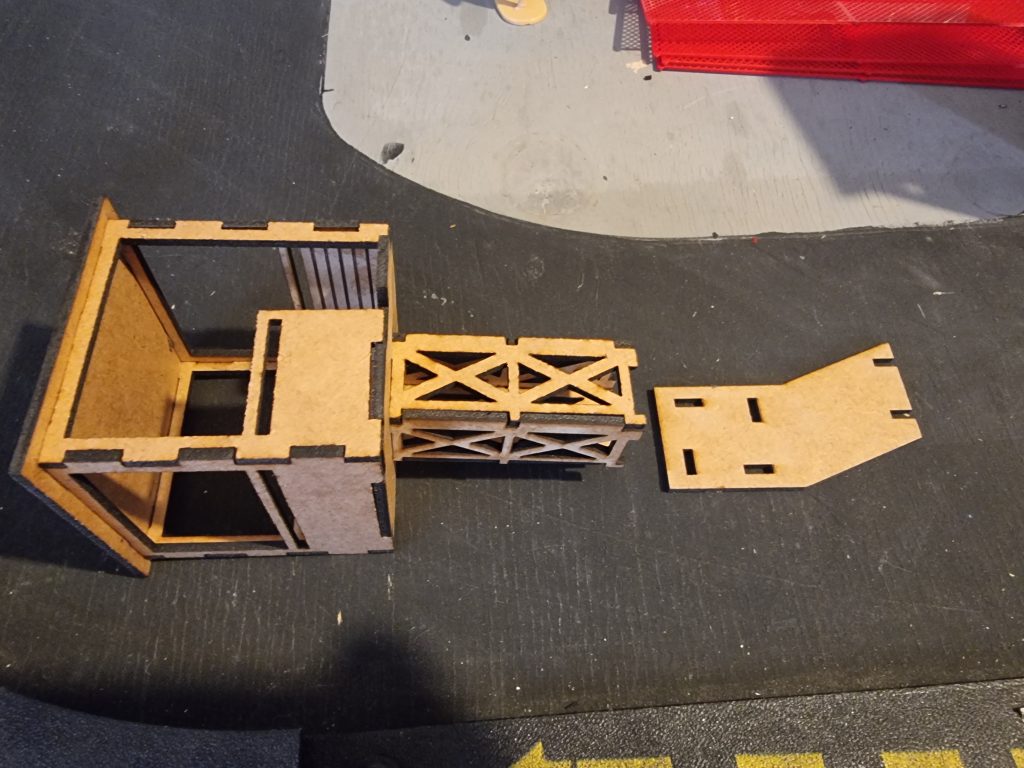
Step 4. Floor deck.
Orient and attach the floor deck.
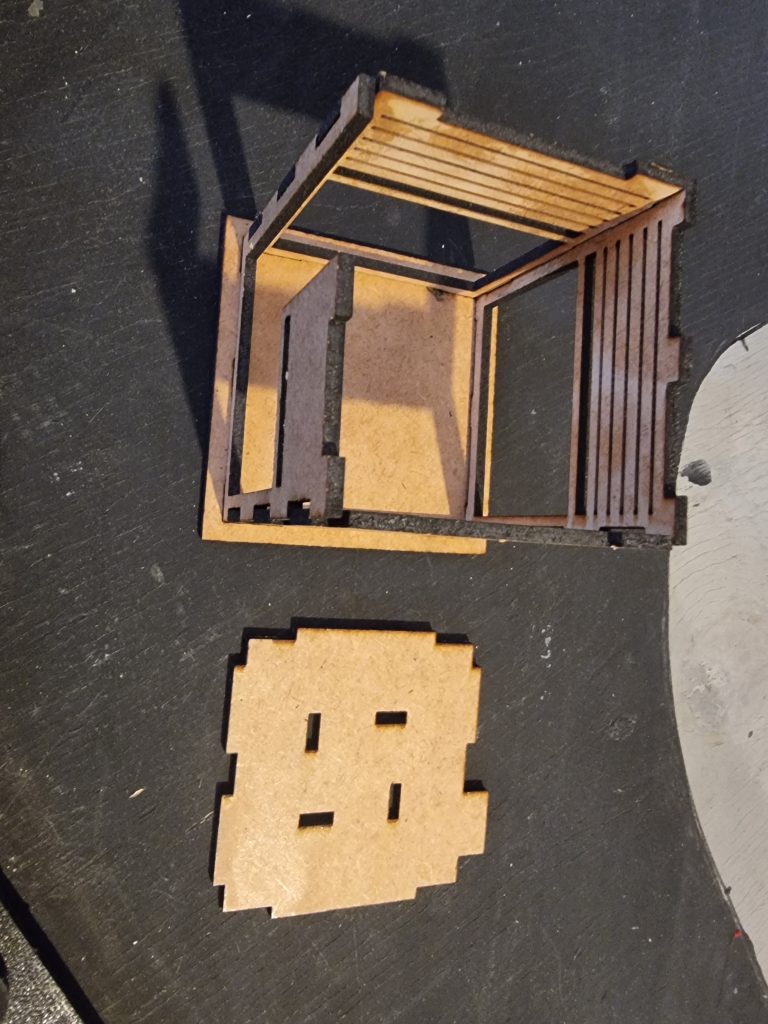
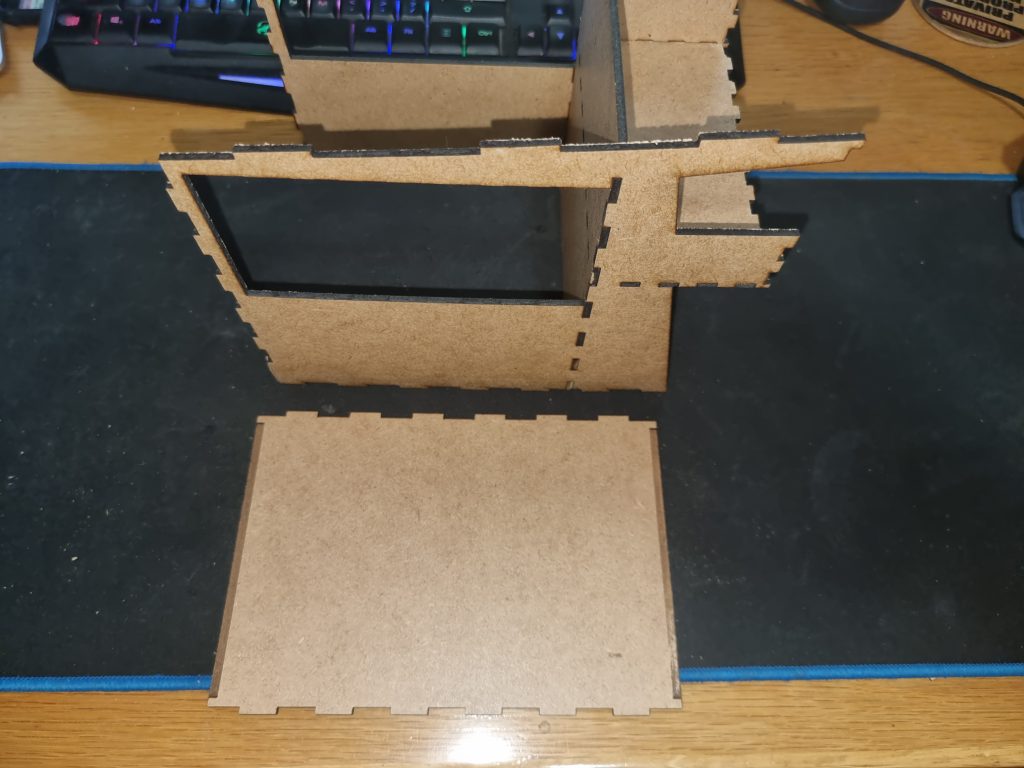
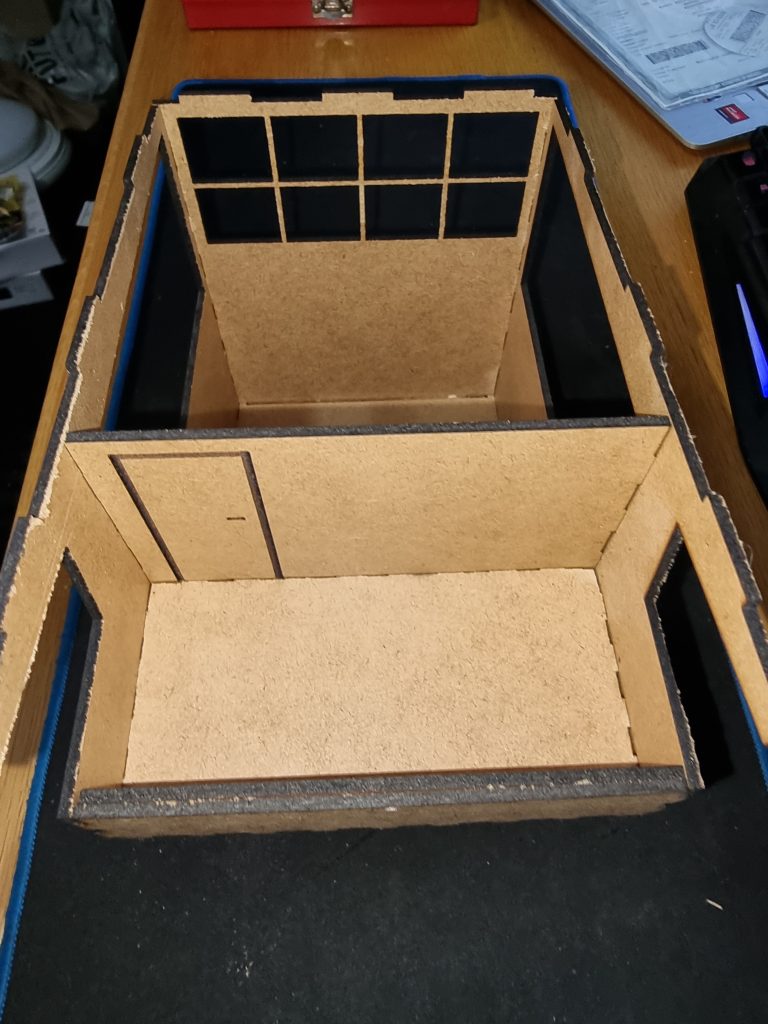
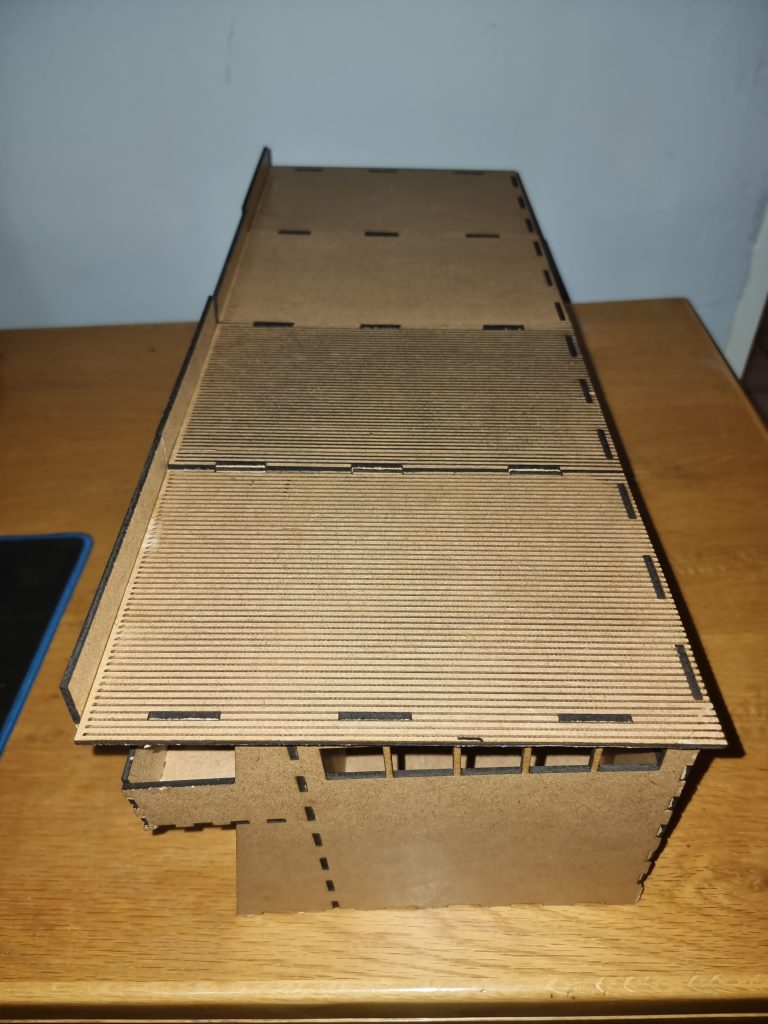
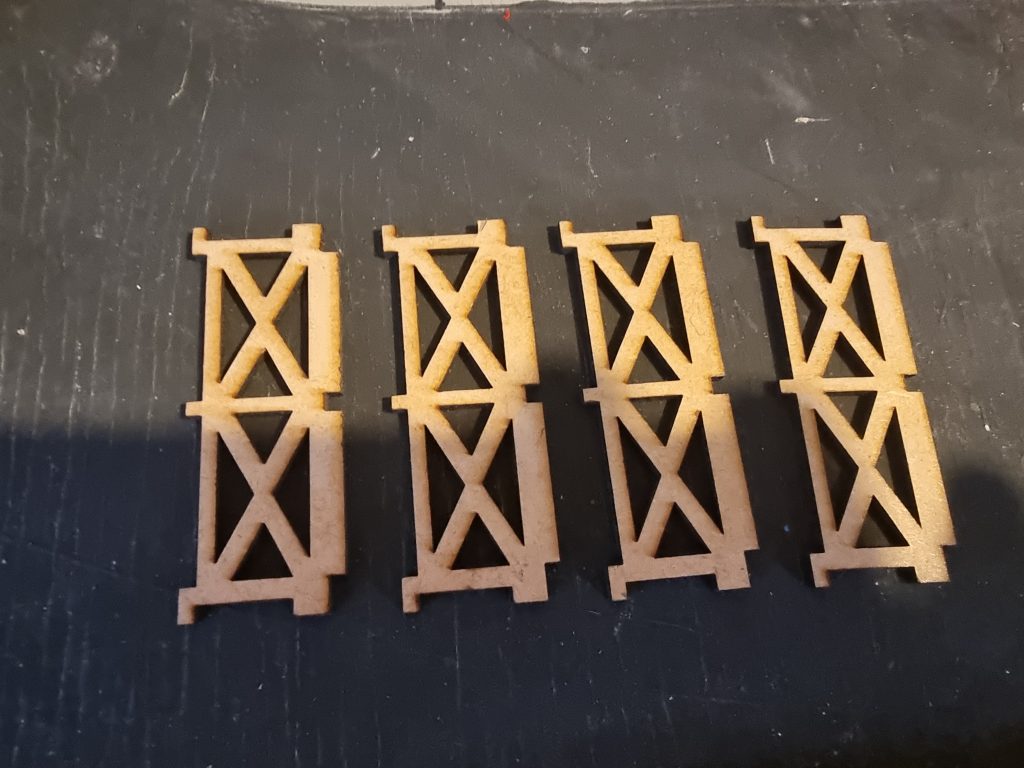
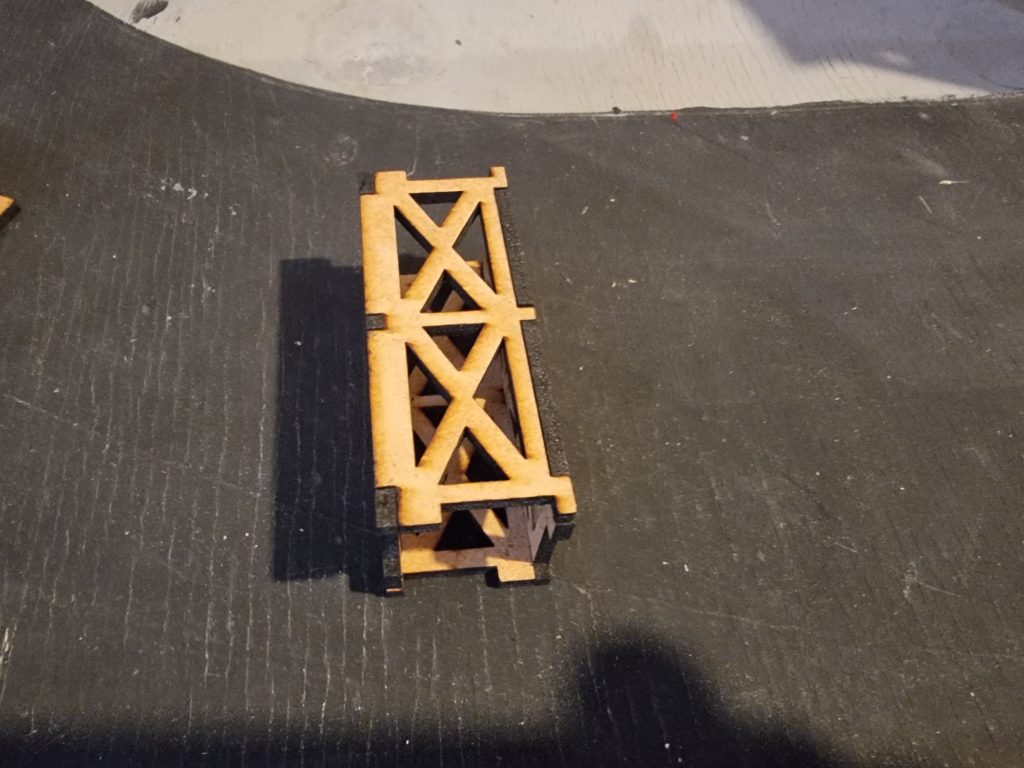
Step 5. Support.
Assemble the support trusses into a square and insert into the floor deck.

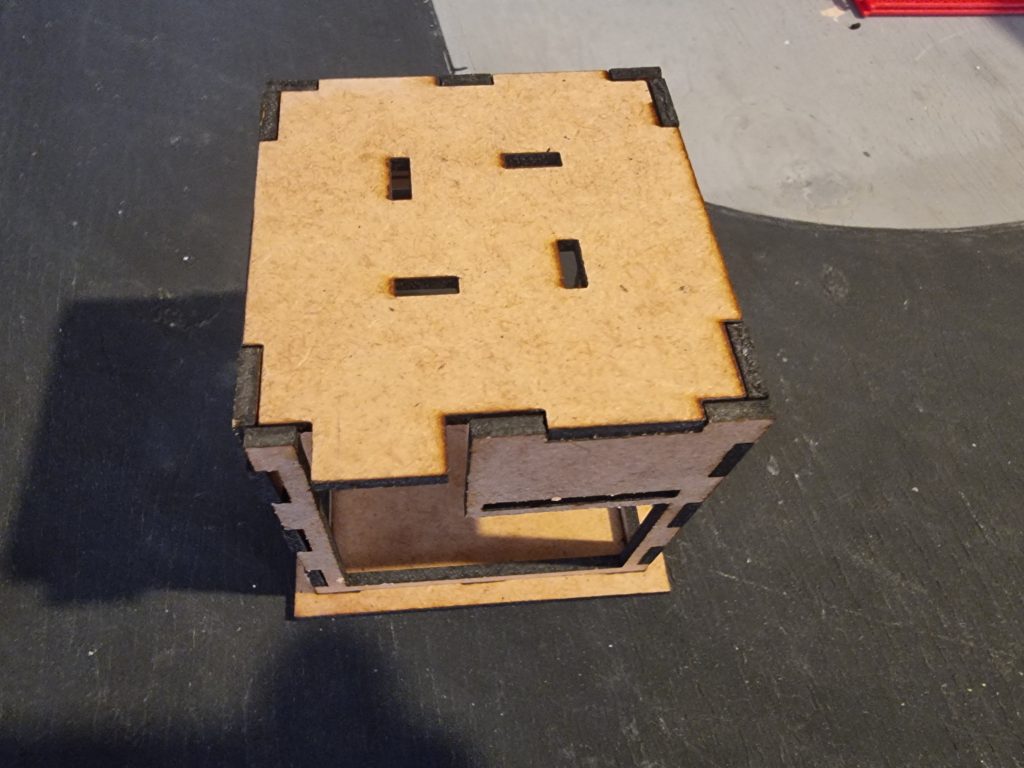
Step 6. Add the support base.
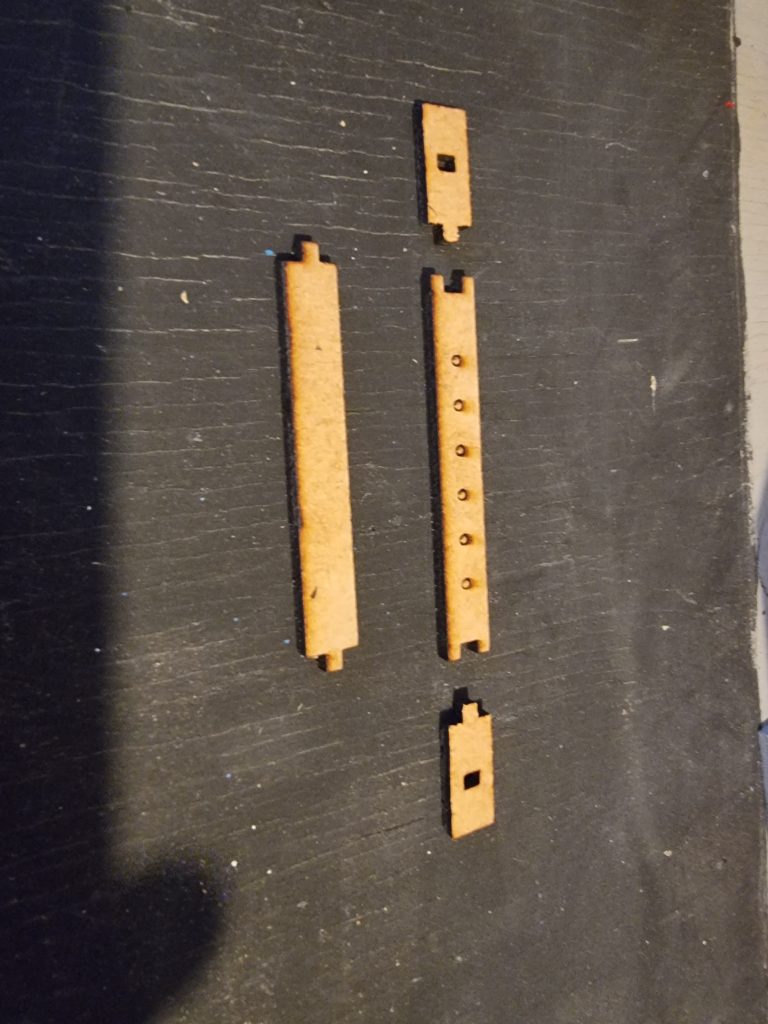
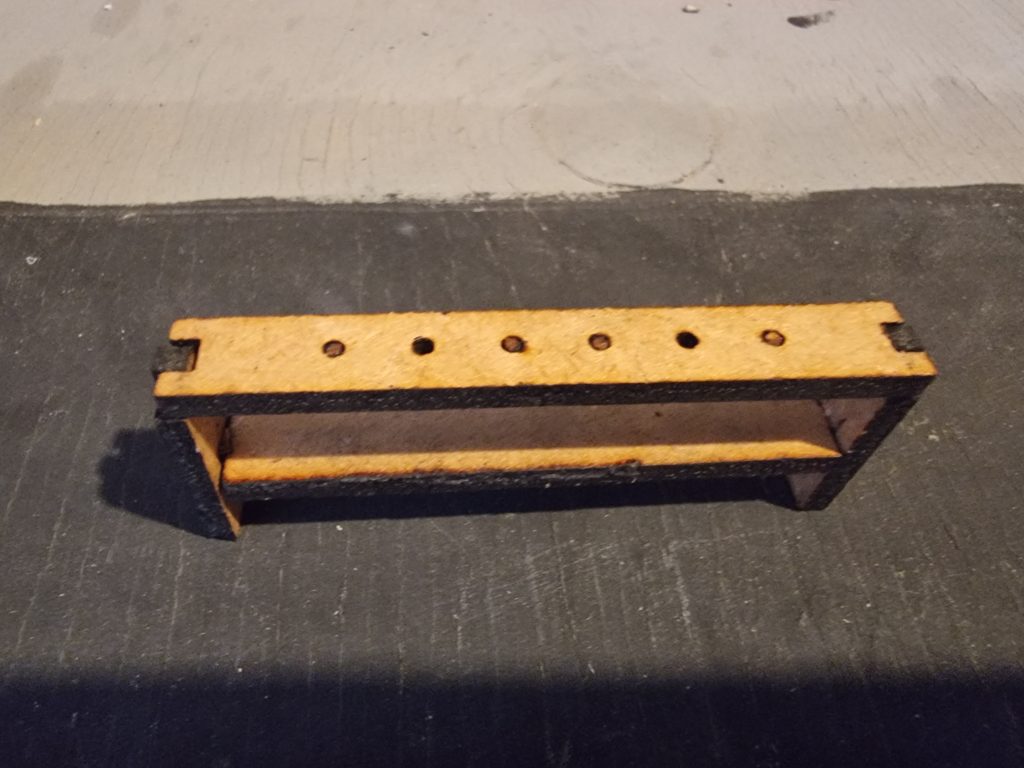
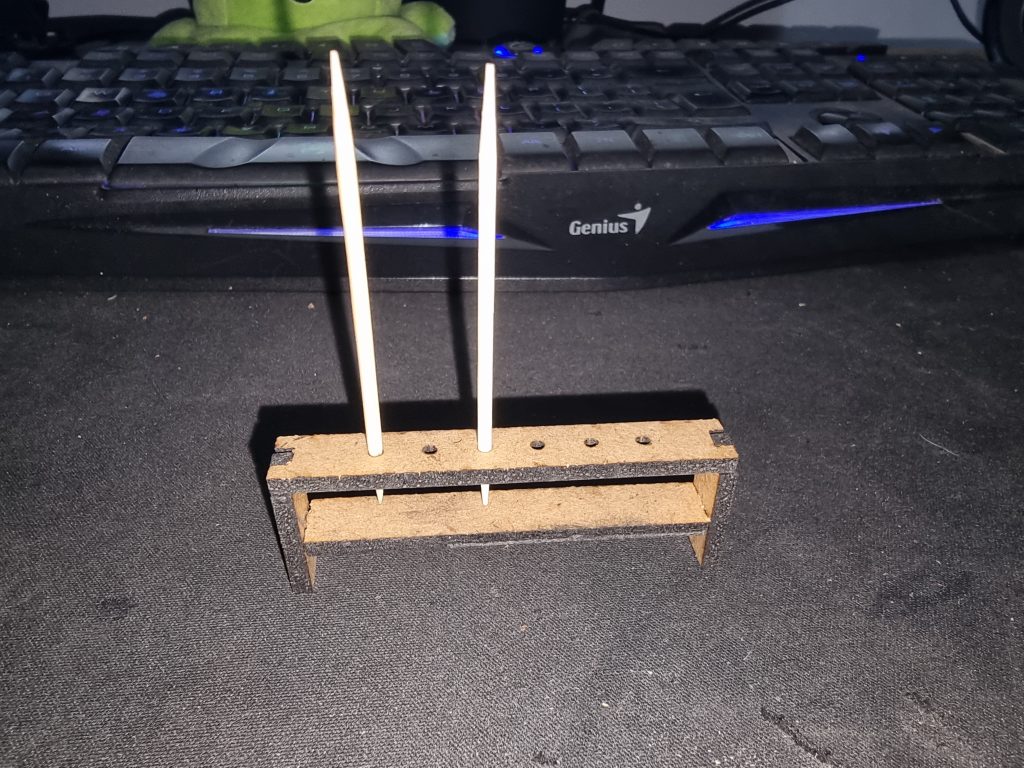
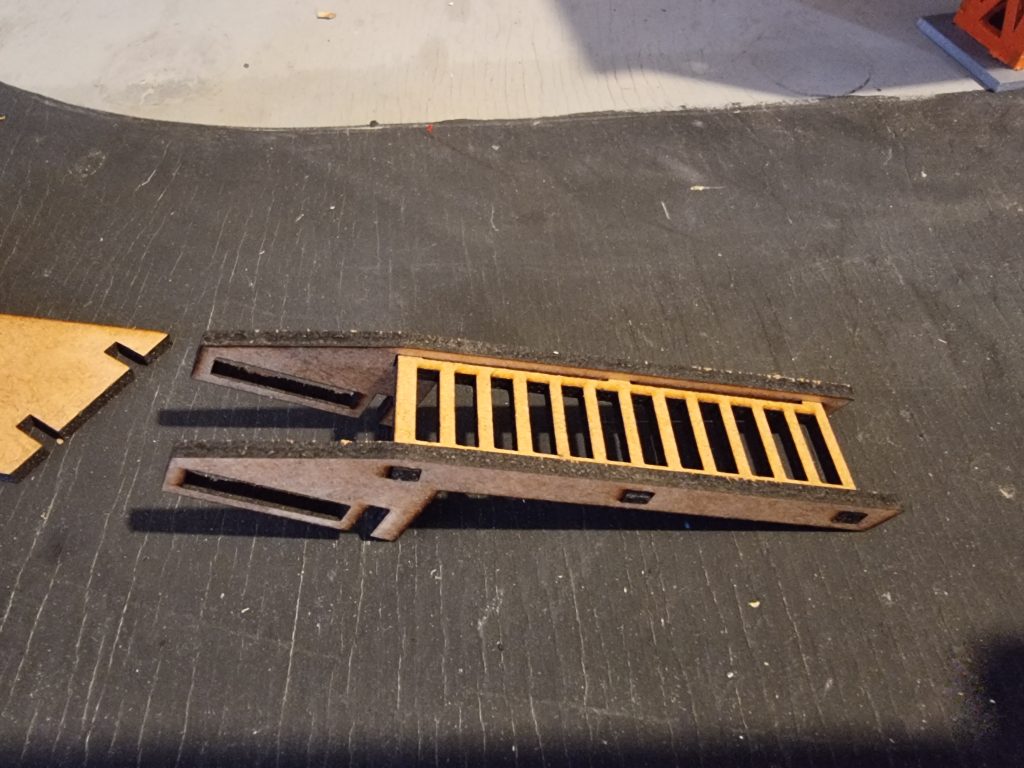
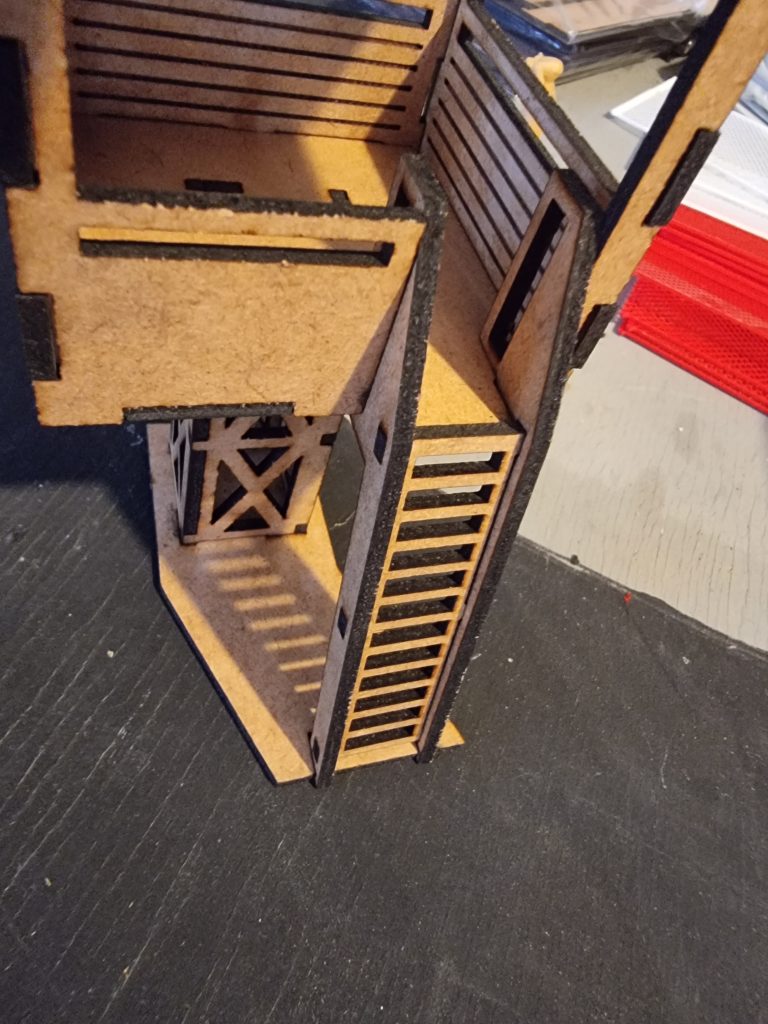
Step 7. Assemble and attach the ladder.

Step 8. Flag stand.
Assemble and insert the flag stand in whatever position you choose.